Blog - Author: oxygo
Author: oxygo
Using the Portable Oxygen Cylinder

The portable oxygen cylinder is a modality that permits an active oxygen user to leave the home to go shopping, to run errands, go to the doctors, to church, on vacation, etc. Activities of daily living as well as the quality of life can be greatly improved with the addition of a portable oxygen cylinder system. A portable oxygen cylinder contains medical grade oxygen (99% or better), which is compressed into a cylinder to 2,000 p.s.i. There are special composite cylinders that can hold as much as 3,000 p.s.i. Attached to the top of the cylinder is the regulator which reduces that 2,000 p.s.i. to a much more workable 50 p.s.i. The regulator also indicates the pressure that is remaining in the cylinder as well as controls the flow rate of the oxygen output. The flow rate is set to the prescription as ordered by the physician. The prescribed flowrate is set by turning the control knob. The portable cylinders vary in size. The larger the cylinder, the more oxygen it will hold, and thus last longer. The size and number of cylinders provided are usually based on the patient’s daily activities and the prescription from the doctor. The typical portable cylinder system used to be the E cylinder with a two-wheeled cart. Most portable cylinders today are made of aluminum, but in earlier years the cylinders were made of steel and weighed upwards of 30 pounds. An E cylinder running continuously at 2 liters per minute would last approximately 5 hours. The next size smaller i
Using the Pulse Oximeter

A pulse oximeter is a medical device that is used to measure how much oxygen is being carrying in a person’s blood. More specifically, it measures how much oxygen is being carried in a person’s hemoglobin. The measured result is termed “percent saturation.” The normal blood oxygen saturation for a healthy adult is 97% +/- 3%. Hemoglobin is attached to our red blood cells and carries the oxygen leaving the lungs to the cells. Hemoglobin also carries carbon dioxide—the end-product of energy—back to our lungs so that it can be exhaled. The pulse oximeter can quickly measure the hemoglobin that is saturated with oxygen, providing a digital readout on a display screen. Pulse oximeters also measure the pulse rate, which is also displayed on the screen. Pulse oximeters can be powered by electricity, battery, or both. They come in various shapes and sizes. Hospitals and medical facilities more frequently use commercial-grade, electrically- and battery-powered units, while the much smaller, more affordable finger pulse oximeters are widely used by medical professionals and patients alike. Pulse oximeters are very easy to use. The most common form of measuring oxygen saturation in an adult is using the finger probe which gently clamps onto a finger. Within seconds, the saturation and pulse are displayed. There are a variety of other probes which can also be used with the pulse oximeter. There are probes that attach to the ear lobe, and for newbo
Using the Metered Dose Inhaler (MDI) Chamber
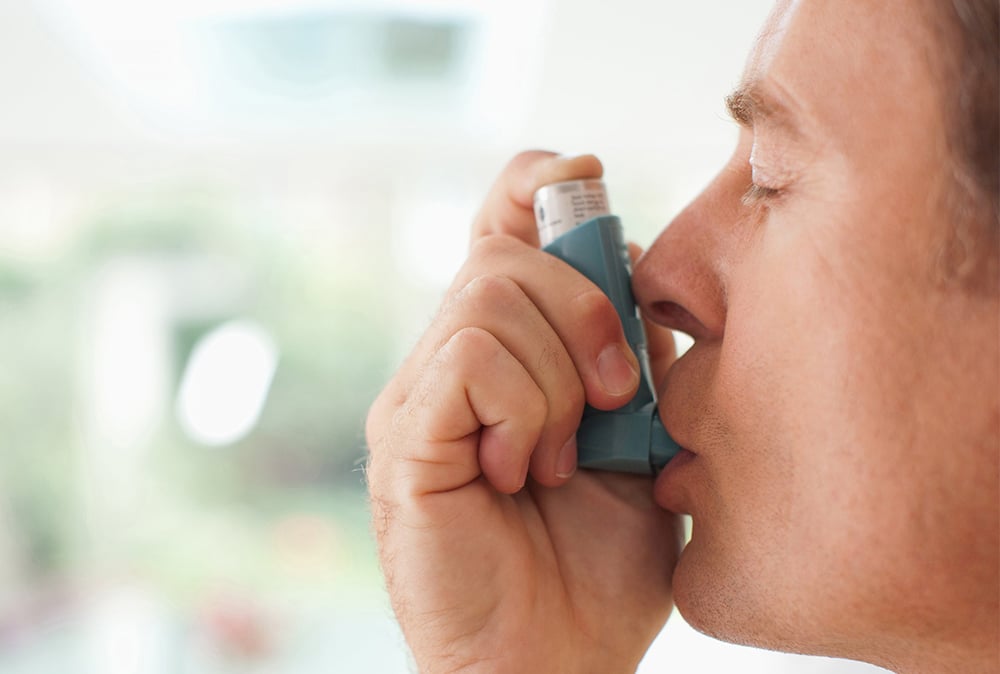
Respiratory patients using a metered dose inhaler (MDI) can improve the effectiveness and accuracy of medication placement into their airways and lungs by incorporating a metered dose chamber with their MDI. The MDI attaches directly to the MDI chamber, providing a space for the medication to remain suspended in the air a few seconds longer, improving the amount and dispersion of medication into the airways and lungs. There are two different styles of MDI chambers. The standard chamber is usually a cylindrical device where the MDI attaches at one end and a mouthpiece is at the other. The second device is called a valved holding chamber. How to use both the standard and valved holding chambers: Remove the cap from the MDI and chamber. Shake well. If this is the first time using the MDI, prime the canister by pushing down on the MDI and pointing into the air. A second prime may be necessary. Insert the MDI into the open end of the chamber (opposite of the mouthpiece). Place the mouthpiece of the chamber between your teeth and close your lips tightly. Exhale all of your air out of your lungs. Press down on the canister one time. Breathe in slowly and completely through your mouth. FOR VALVED HOLDINGCHAMBER ONLY — If you hear a horn-like sound, slow your breathing down as you are breathing too quickly. Hold your breath for 10 seconds to allow the medication to be absorbed into the lungs and airways. If you cannot hold your breath for 10 seconds, hold as
Using a Peak Flow Meter

A peak flow meter is a small handheld medical device that measures the fastest speed that air leaves your lungs during a forceful exhalation. This exercise is helpful to asthmatics as the results can help predict if your asthma is under control, or if an attack is eminent. Using the peak flow meter is simple to do and only takes a few minutes. It serves as an important indicator of how well your airways are open and if your breathing is under control—or if you are headed for problems. The peak flow meter can indicate that your airways are closing long before you begin to feel any tightness or shortness of breath, enabling to can take your medications and prevent an attack from happening. The peak flow meter has a mouthpiece that you place your teeth on and seal your lips tightly around so that no air escapes. The meter has a scaled set of numbers that begin low at the mouthpiece end and increase. Within the scale is a flow indicator and a spring-loaded push aperture. Taking as deep a breath as you can, forcefully exhale from your mouth as fast as possible—imagine blowing out birthday candles from 3 feet away. The spring aperture will push the flow indicator to the highest speed that your exhaled air reached and the spring aperture will return to it resting place and the flow indicator will remain at that high flow so that you can read the results. After looking at your results, manually slide the flow indicator back to the baseline. You should perform this
Tracheal Suctioning

Tracheal suctioning using a mechanical suction device to aspirate secretions from the airway is a vital part of bronchial hygiene when the patient does not have the ability to effectively clear these secretions on his or her own. There are several routes one could take when performing tracheal suctioning, including nasal, oropharyngeal and endotracheal. The following guidelines are meant as a reference guide only and are not intended to replace hands-on training provided by a skilled medical professional. Before any suction procedure begins, encourage the patient to attempt to clear his or her secretions with a deep cough. If the patient can produce a cough effort, the patient should be taught and encouraged to cough throughout the day. If the patient cannot completely clear his or her airway and secretions can still be heard, take the following steps: Explain to the patient what you are about to do. Place the patient in a semi-fowler (or 45-degree angle) position. Wash your hands. Place a chucs under pad or drape across the patient’s chest. Pour normal saline into a clean container. Turn on the suction machine. Put on sterile gloves if available. If not available, use clean gloves. Open suction catheter and lay across patient’s chest. Keeping dominant hand “clean/sterile” attach end of catheter to suction tubing. Using water soluble gel, lubricate the catheters first 3 to 4 inches. Remove the nasal cannula if patient is wearing one. To determi
Stationary Concentrators

The stationary oxygen concentrator is designed to provide an unlimited supply of supplemental oxygen to patients whose blood oxygen saturation is 88% or less. Our atmosphere is comprised mostly of 21% oxygen and 79% nitrogen. The oxygen concentrator removes the nitrogen component, creating an oxygen-enriched environment, which is between 90% and 96% oxygen. To maintain optimal performance of your concentrator, the following guidelines are recommended: Place the concentrator in a well-ventilated area. Plug the concentrator into a well-grounded electrical outlet. Never use an extension cord. Do not smoke or come within 5 feet of heat source. (Example: if you want to cook, remove the nasal cannula and leave it in another nearby room.) Do not use petroleum-based products such as petroleum jelly, for nasal dryness or irritation. Do not use an oxygen mask with a concentrator. Make sure there is no more than 50 feet of oxygen tubing on the concentrator. Make sure your oxygen tubing is not kinked or obstructed. In the winter months, do not use wool blankets or anything that may cause static electricity around the oxygen concentrator. Maintenance At least weekly, remove the cabinet filters and wash with warm soapy water, rinse thoroughly and dry. Weekly, wipe down the concentrator with a clean damp cloth. Never open the concentrator cabinet. Any internal maintenance will be done by your provider. Studies have shown that humidifiers are not necessary for liter flows of 4 lit
The OxyGo Portable Oxygen Concentrator
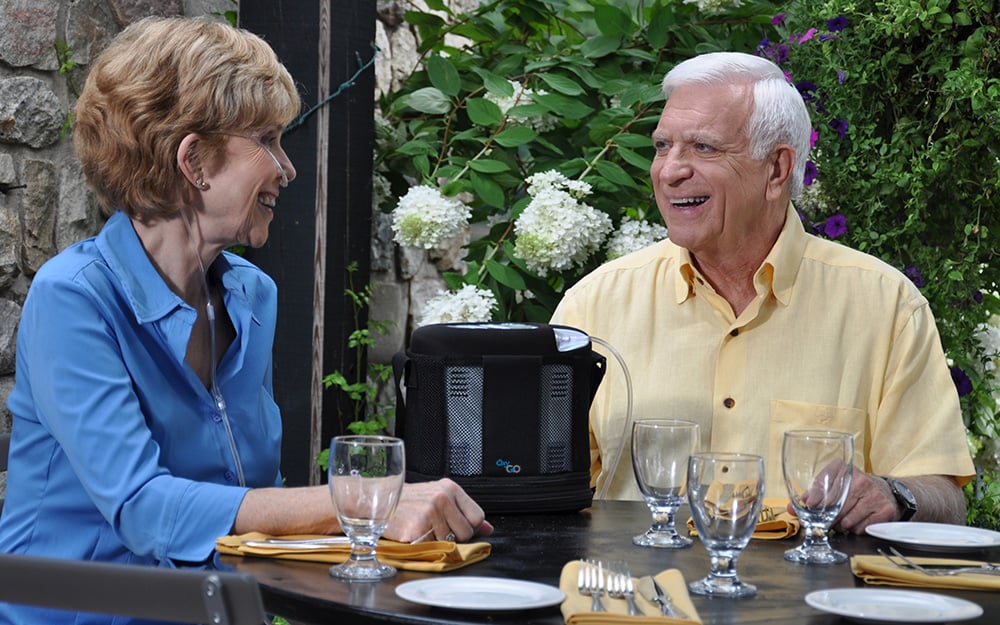
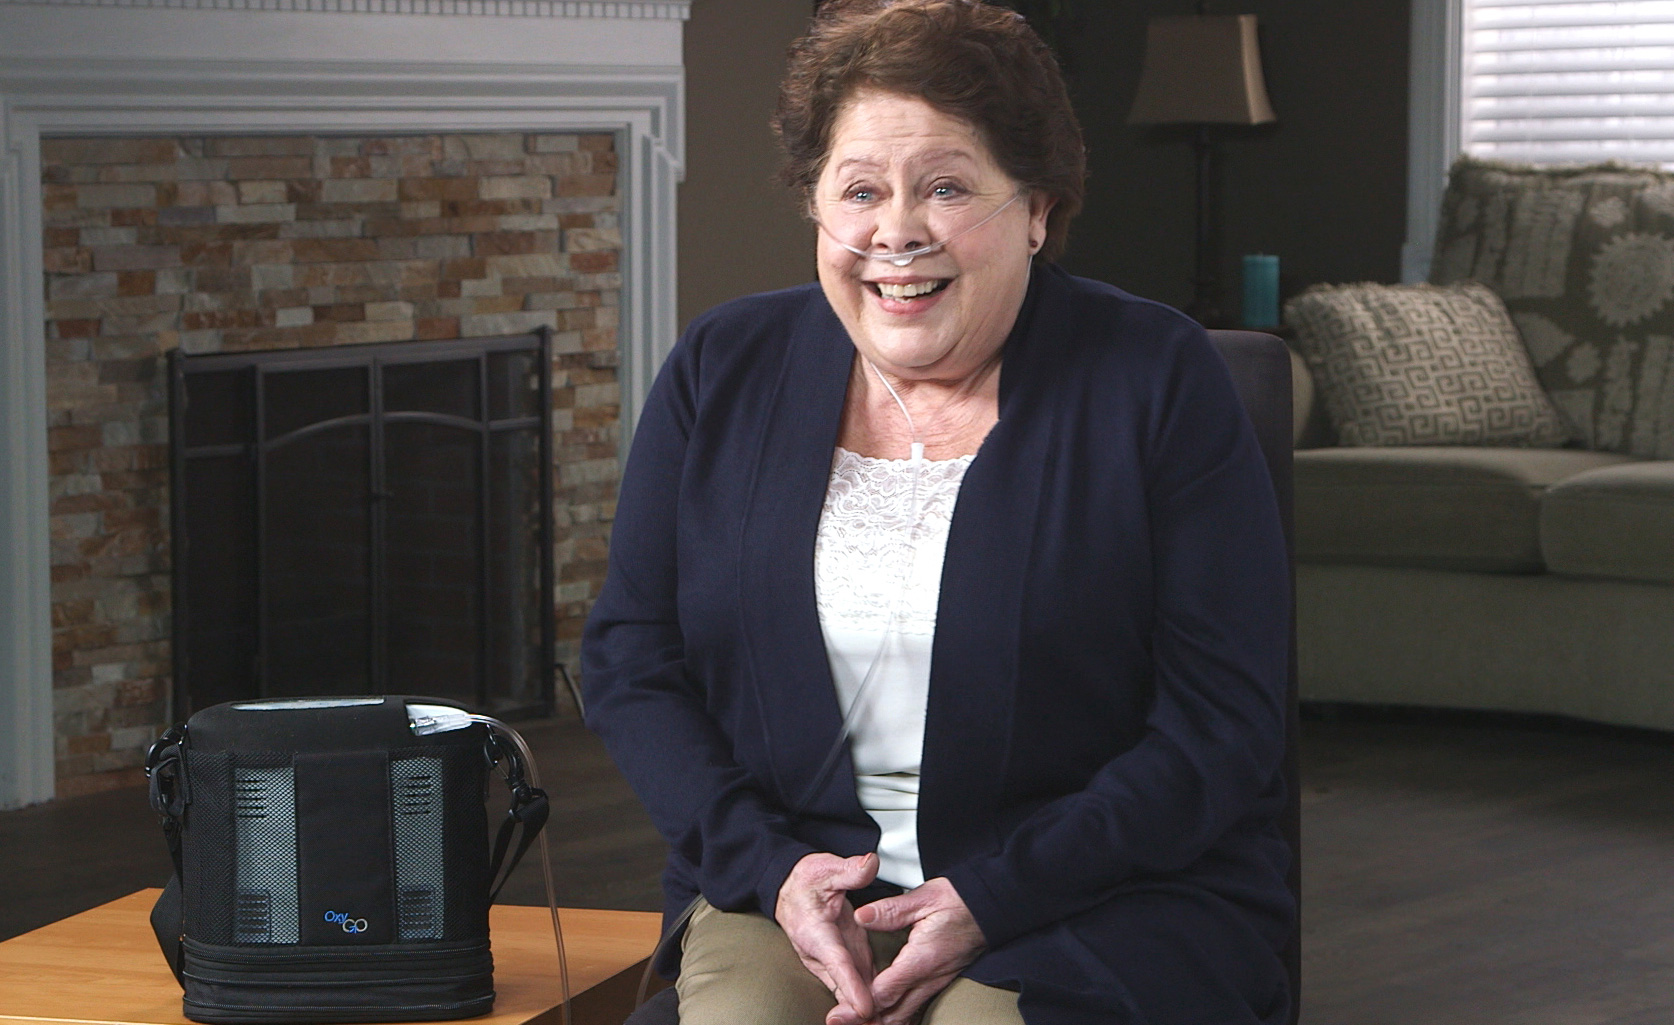
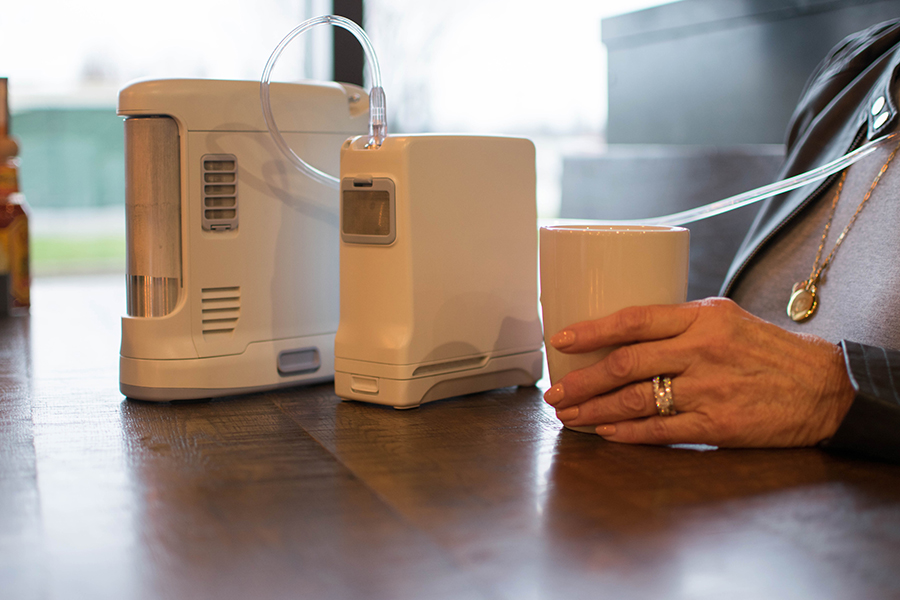
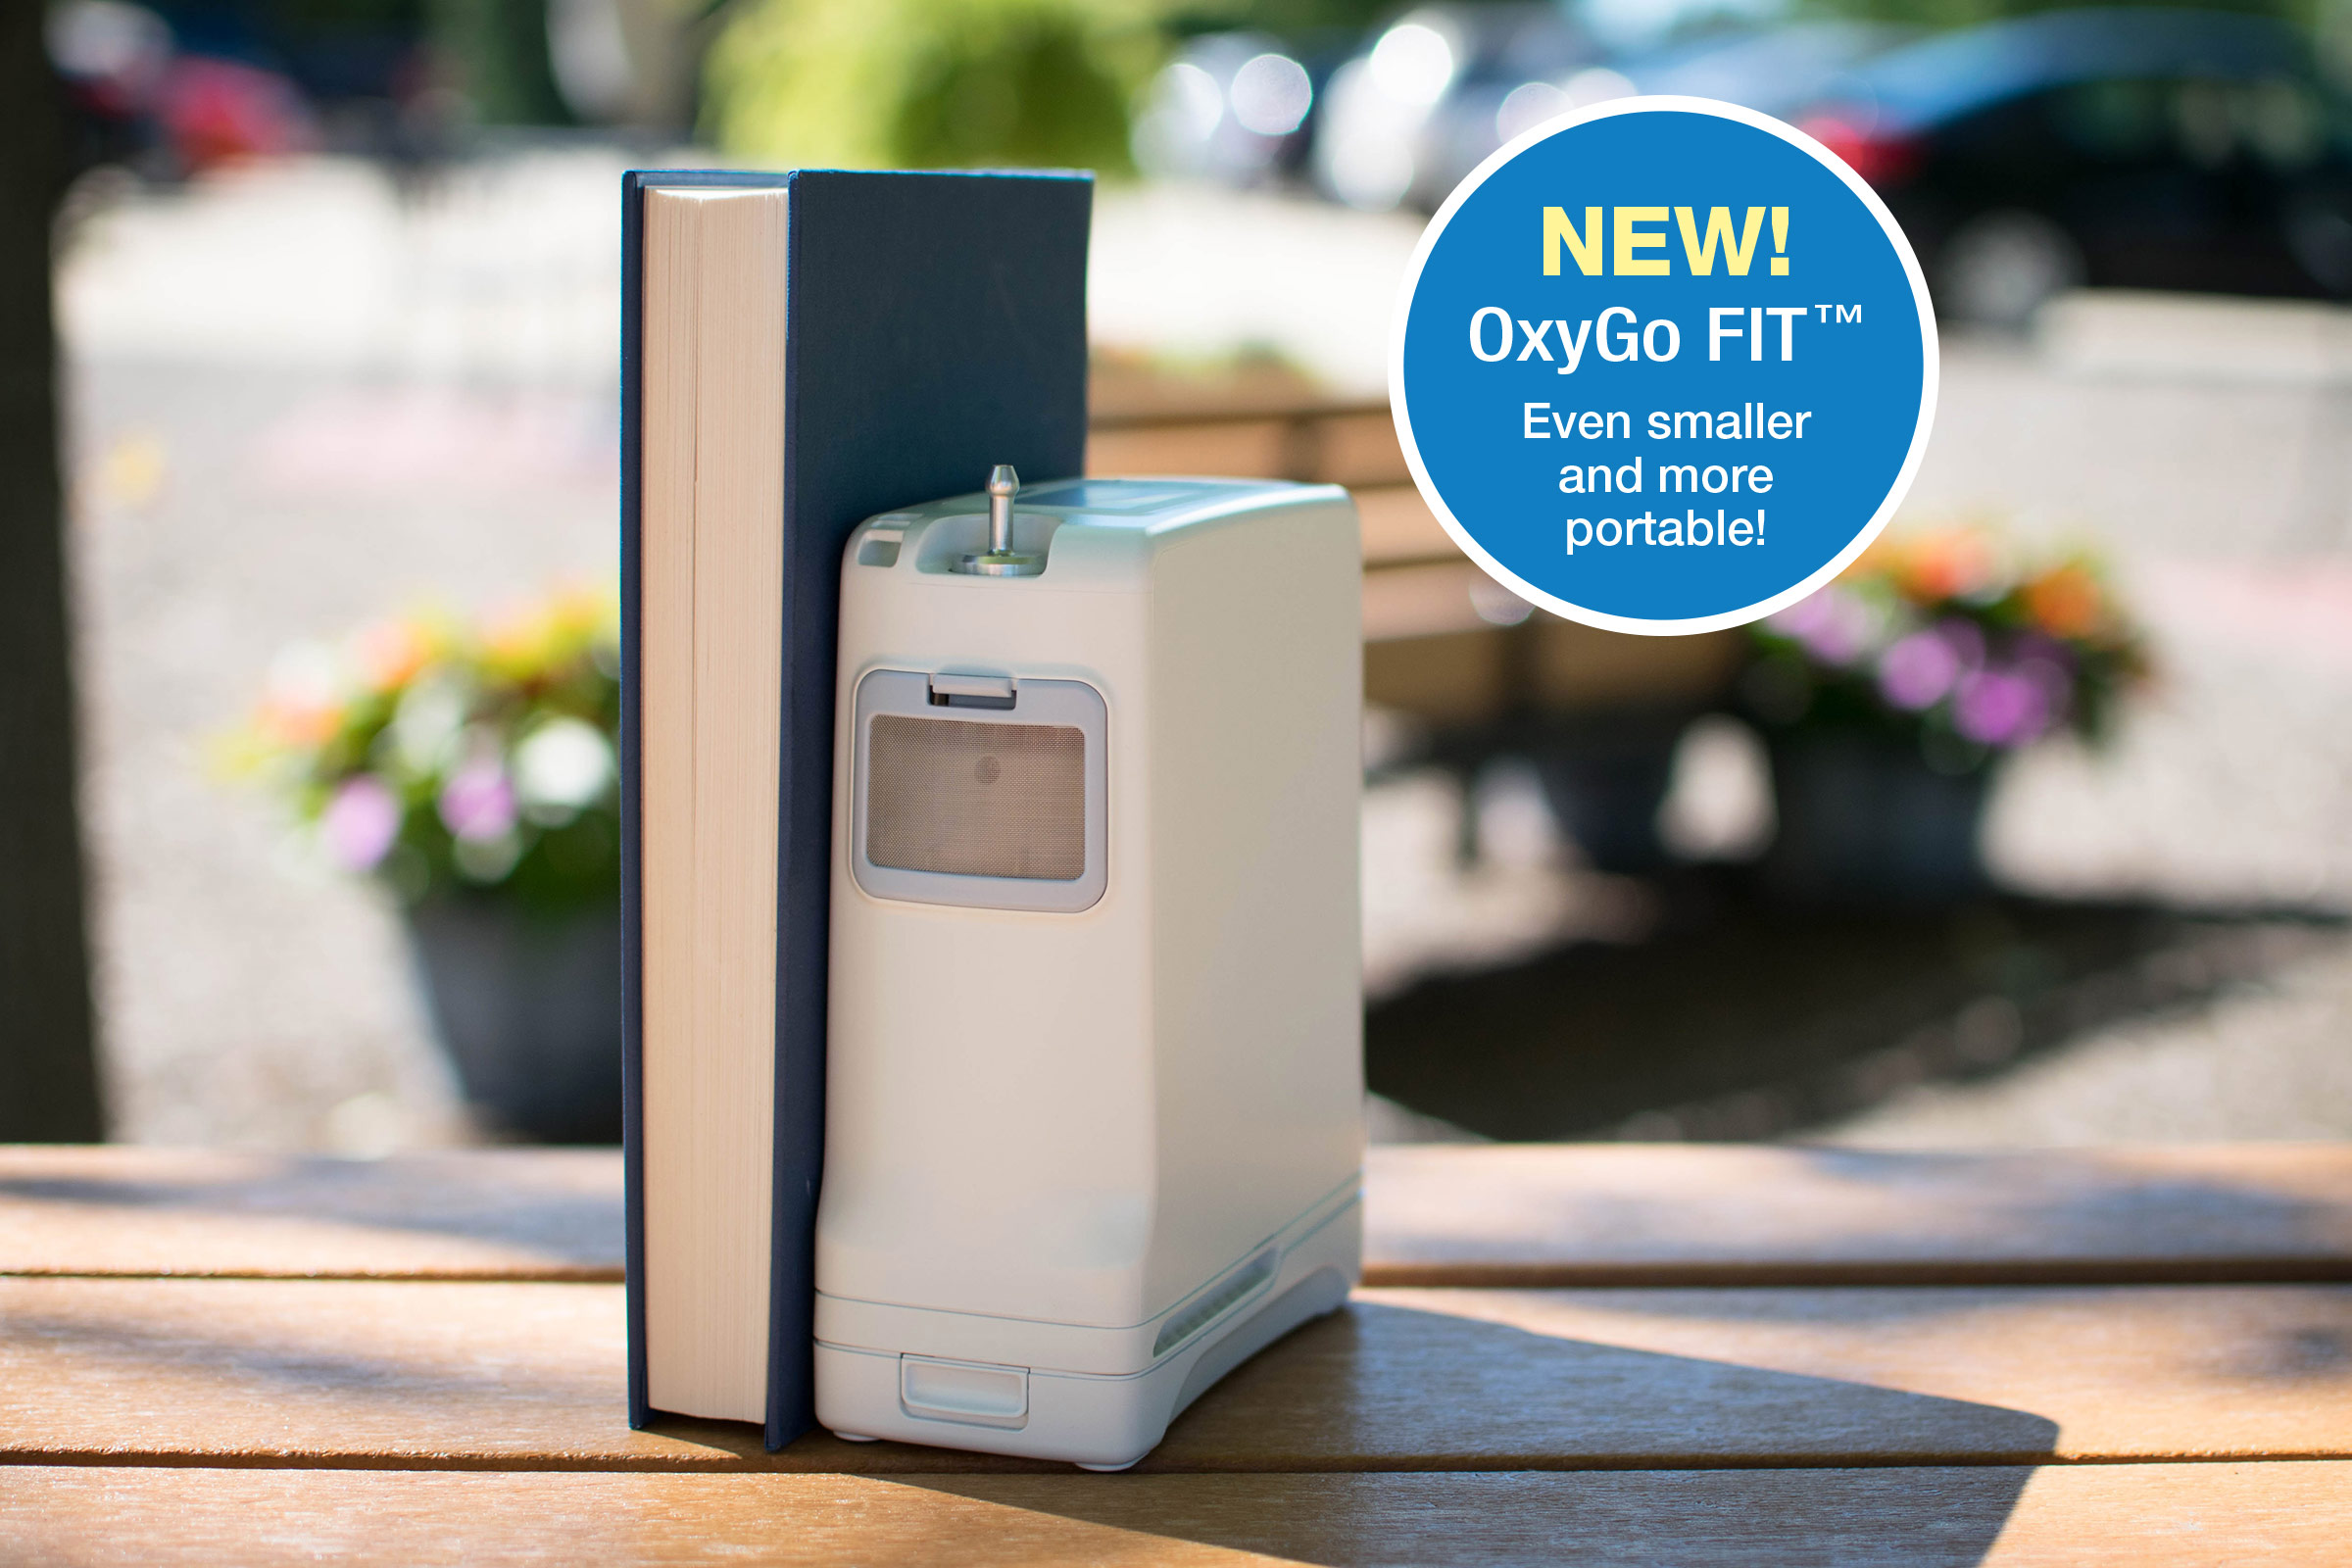
The OxyGo is a new-generation pulse dose oxygen concentrator that weighs only 4.8 pounds and can operate on electricity, DC current, or the external attached battery. The OxyGo can be used as both a portable and stationary concentrator. When in the home or a temporary location such as a doctor’s office, plugging the OxyGo into an electrical outlet will provide you with an endless supply of oxygen to meet your needs as well as charge the attached external battery. When traveling in a vehicle, simply plug the OxyGo into the DC outlet and the OxyGo will be powered by the vehicle’s electrical resources and will recharge or maintain a full charge on the attached external battery. Before leaving home, check the battery strength. This is easily done by powering up the unit and looking at the display window. The left side of the window will show a battery outline representing the battery strength. A fully shaded battery means fully charged. Within about 15 seconds of turning the unit on, the exact percentage of battery charge will also appear in the display window. To turn on the OxyGo, place the concentrator in the upright position with the display panel on top and press the large round on/off button on the far-right side for approximately 2 seconds. A single beep will sound as the unit is powering up. To turn the OxyGo off, press and hold that same on/off button until a beep is heard. The oxygen flow settings are controlled by the + and – buttons in th
Replacing your Oxygen Cannula and Extension Tubing
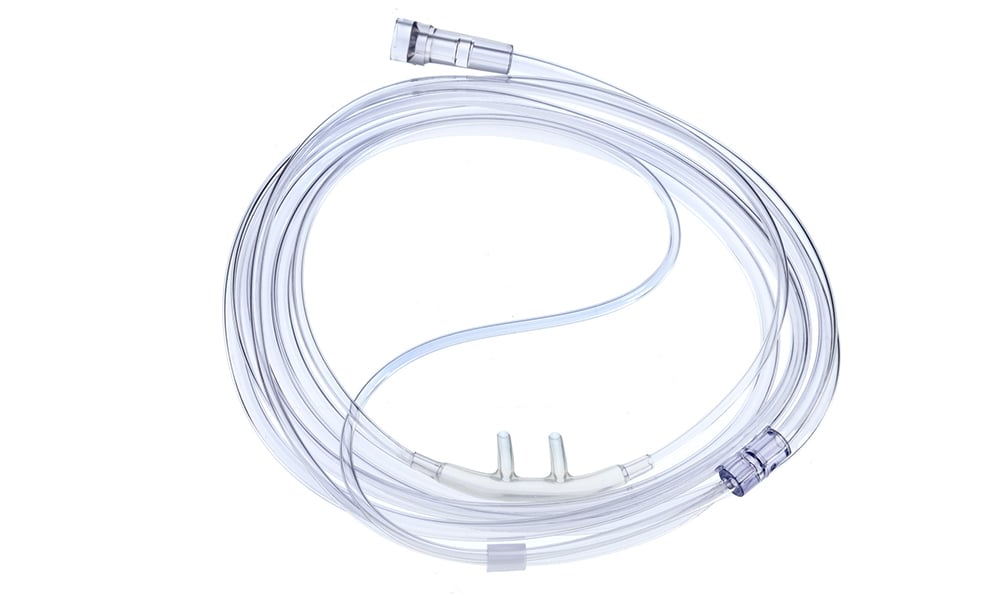
Learn best practices for maintaining your oxygen tubing and nasal cannula to ensure optimal oxygen flow and comfort. Keep equipment clean and
Oxygen Safety

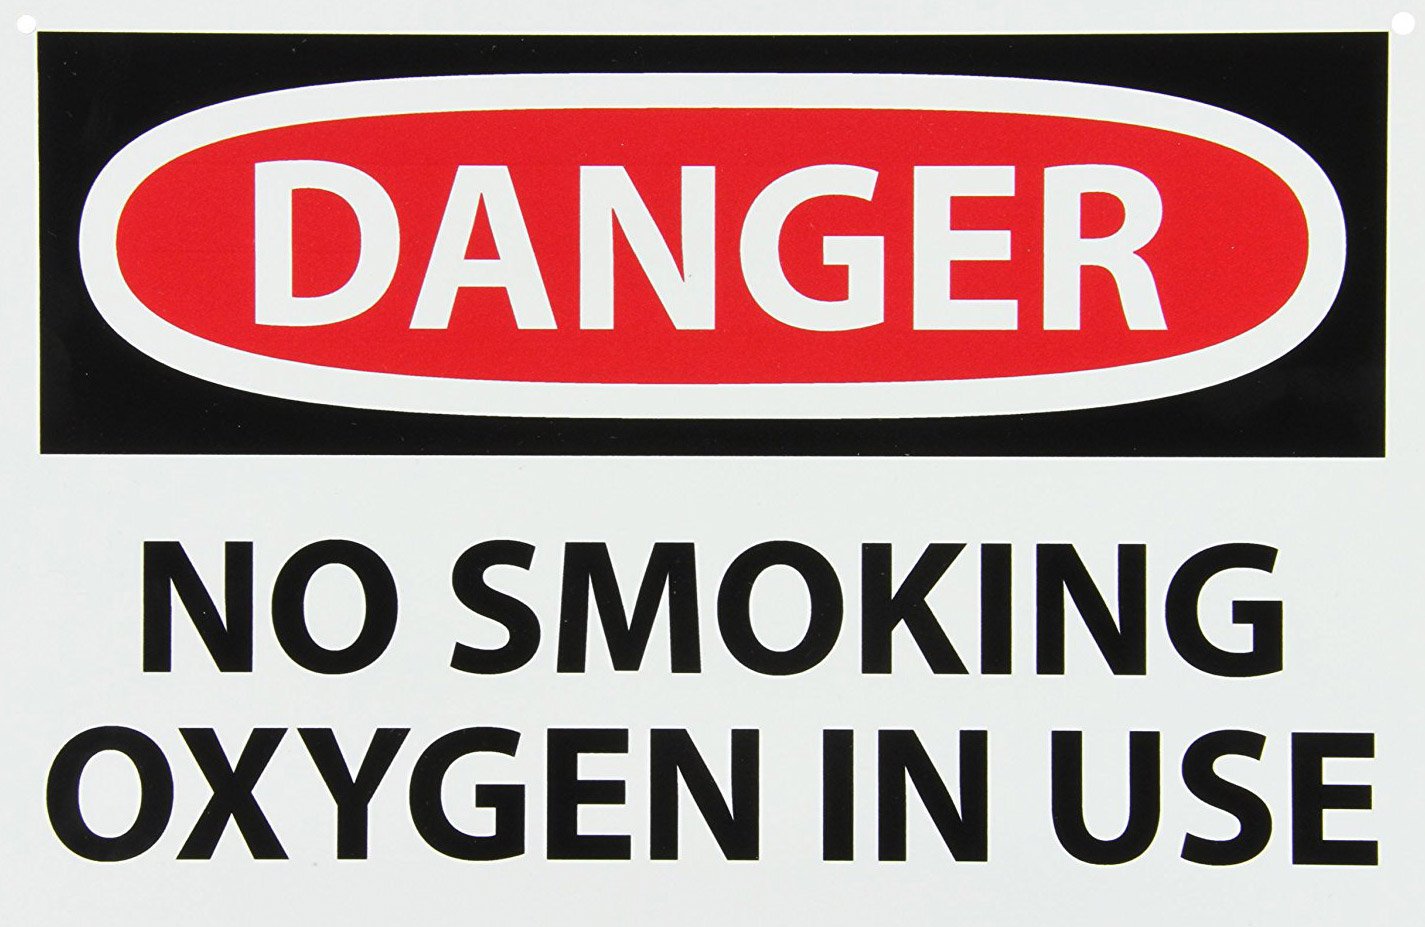
Your doctor will prescribe oxygen if your lungs are not getting enough oxygen into your blood. Many people don’t realize that oxygen is a drug because we are breathing it everyday in our atmosphere. When you need oxygen concentrations above 21% (the percentage in our atmosphere) you will need a prescription. In its natural state, oxygen is an odorless, tasteless and colorless gas. It is considered the most important of all the elements to life. Oxygen does not burn; however, it does support combustion. In other words, combustible materials will burn much more vigorously in an oxygen enriched environment, compared to our normal environment. Not only does oxygen exist in a gaseous form, it can also appear in a liquid and solid form. Liquid oxygen is extremely cold (-297.3 70 F) and looks pale blue in color. It flows like water and weighs 9.52 pounds per gallon. Solid oxygen is used for rocket propulsion to propel our astronauts into space. If you have been prescribed portable oxygen, we recommend that you make a copy of your script and keep it with you always. This way, if you are traveling or are far from your home and run out of or have a failure of your oxygen system, you will have a prescription with you to present to the oxygen company proving you are an oxygen patient. Millions of people have safely used oxygen. There are a few things to remember when having oxygen in your home: No Smoking. Never smoke while you are on your oxygen or near your oxygen source
Oral Suctioning

For patients having trouble removing secretions or foreign matter from their mouth by effective coughing, oral suctioning can be beneficial. Oral suctioning is usually performed using an instrument called a Yankauer suction, which is a rigid plastic or metal suction device with a connection end for the suction tubing at one end and a small bulb with holes at the other end. Patients who benefit the most from oral suctioning include those with CVA’s, drooling, impaired cough reflex and those challenged with an impaired swallowing condition. Some patients can perform the oral suction procedure on themselves. It is important to note that patients with an impaired swallowing condition are susceptible to aspirating fluids, and as a precautionary measure should always have a suction machine with Yankauer suction nearby and at the ready. You want to avoid going over any sores or sutures in the mouth. You also do not want to go so far in the back of the throat that you stimulate the gag reflex. How to perform oral suctioning on a patient: Assess the patient to make sure they are not in any respiratory distress or overly anxious. Be aware if the patient has a strong risk for aspiration. Explain to the patient what procedure you are going to do and what they should expect. Place the patient in a semi-fowlers position (45 degree angle in bed). Wash your hands. Gather supplies, a basin with tap water, and non-sterile gloves. If the patient has an infectious disease, you m